ClickUp is an incredibly powerful productivity platform, but managing multiple spaces, lists and ClickUp docs can quickly become complex. Whether you are performing a routine workspace cleanup or panicking over a missing folder, understanding how deletion works is critical.
In our experience regarding SaaS data management, many users don’t realize the risks until it is too late. Human error, such as accidentally deleting the wrong list or changing a field configuration, is common and can set a team back hours or even days.
This guide will walk you through the hierarchy of deletion in ClickUp, the limitations of its native recovery tools, and how to ensure your data remains safe permanently.
Understanding the hierarchy: What can you delete?
Before hitting that trash icon, it is vital to understand the cascading effect of deletion in ClickUp. Deleting a high-level item removes everything contained within it.
You can delete nearly all content types, including:
- Spaces: Top-level project areas (deleting this deletes all folders, lists, and tasks inside).
- Folders: Collections of lists.
- Lists: Groups of related tasks.
- Tasks & Subtasks: The individual units of work.
- Docs: Collaborative documents.
- Attachments & Comments: Contextual data within tasks.
Best practice: Archive vs. delete
Expert Tip: We strongly recommend Archiving over deleting whenever possible.
- Archiving hides the item from your immediate view but preserves the data and history.
- Deleting will permanently delete the content from ClickUp's servers.
Only use delete when you are 100% certain the data is obsolete or if it was created in error.
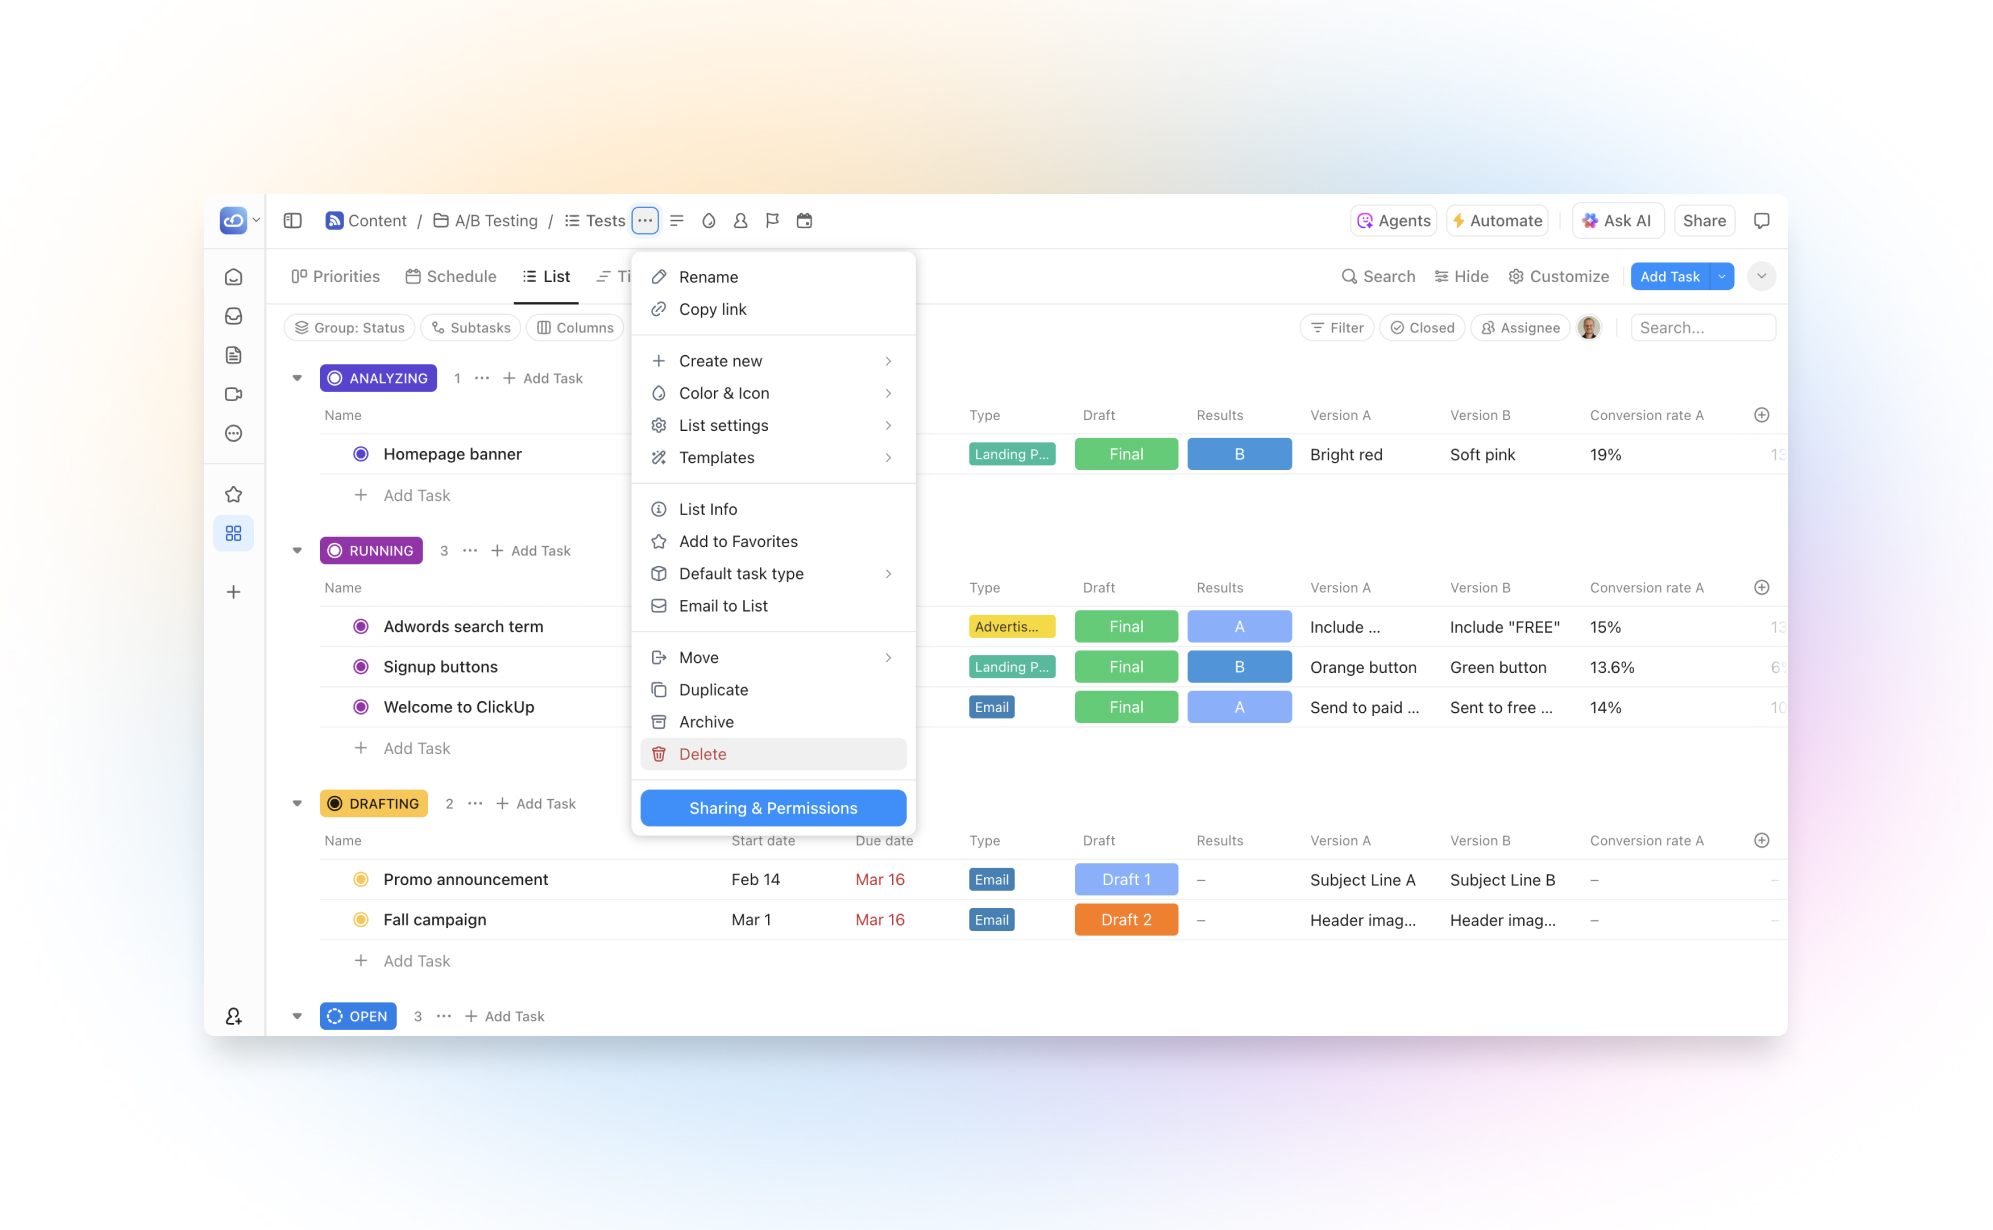
How to archive or delete data in ClickUp
Tasks
- Open the specific task.
- Click the three dots (...) menu in the top right corner.
- Select Archive or Delete.
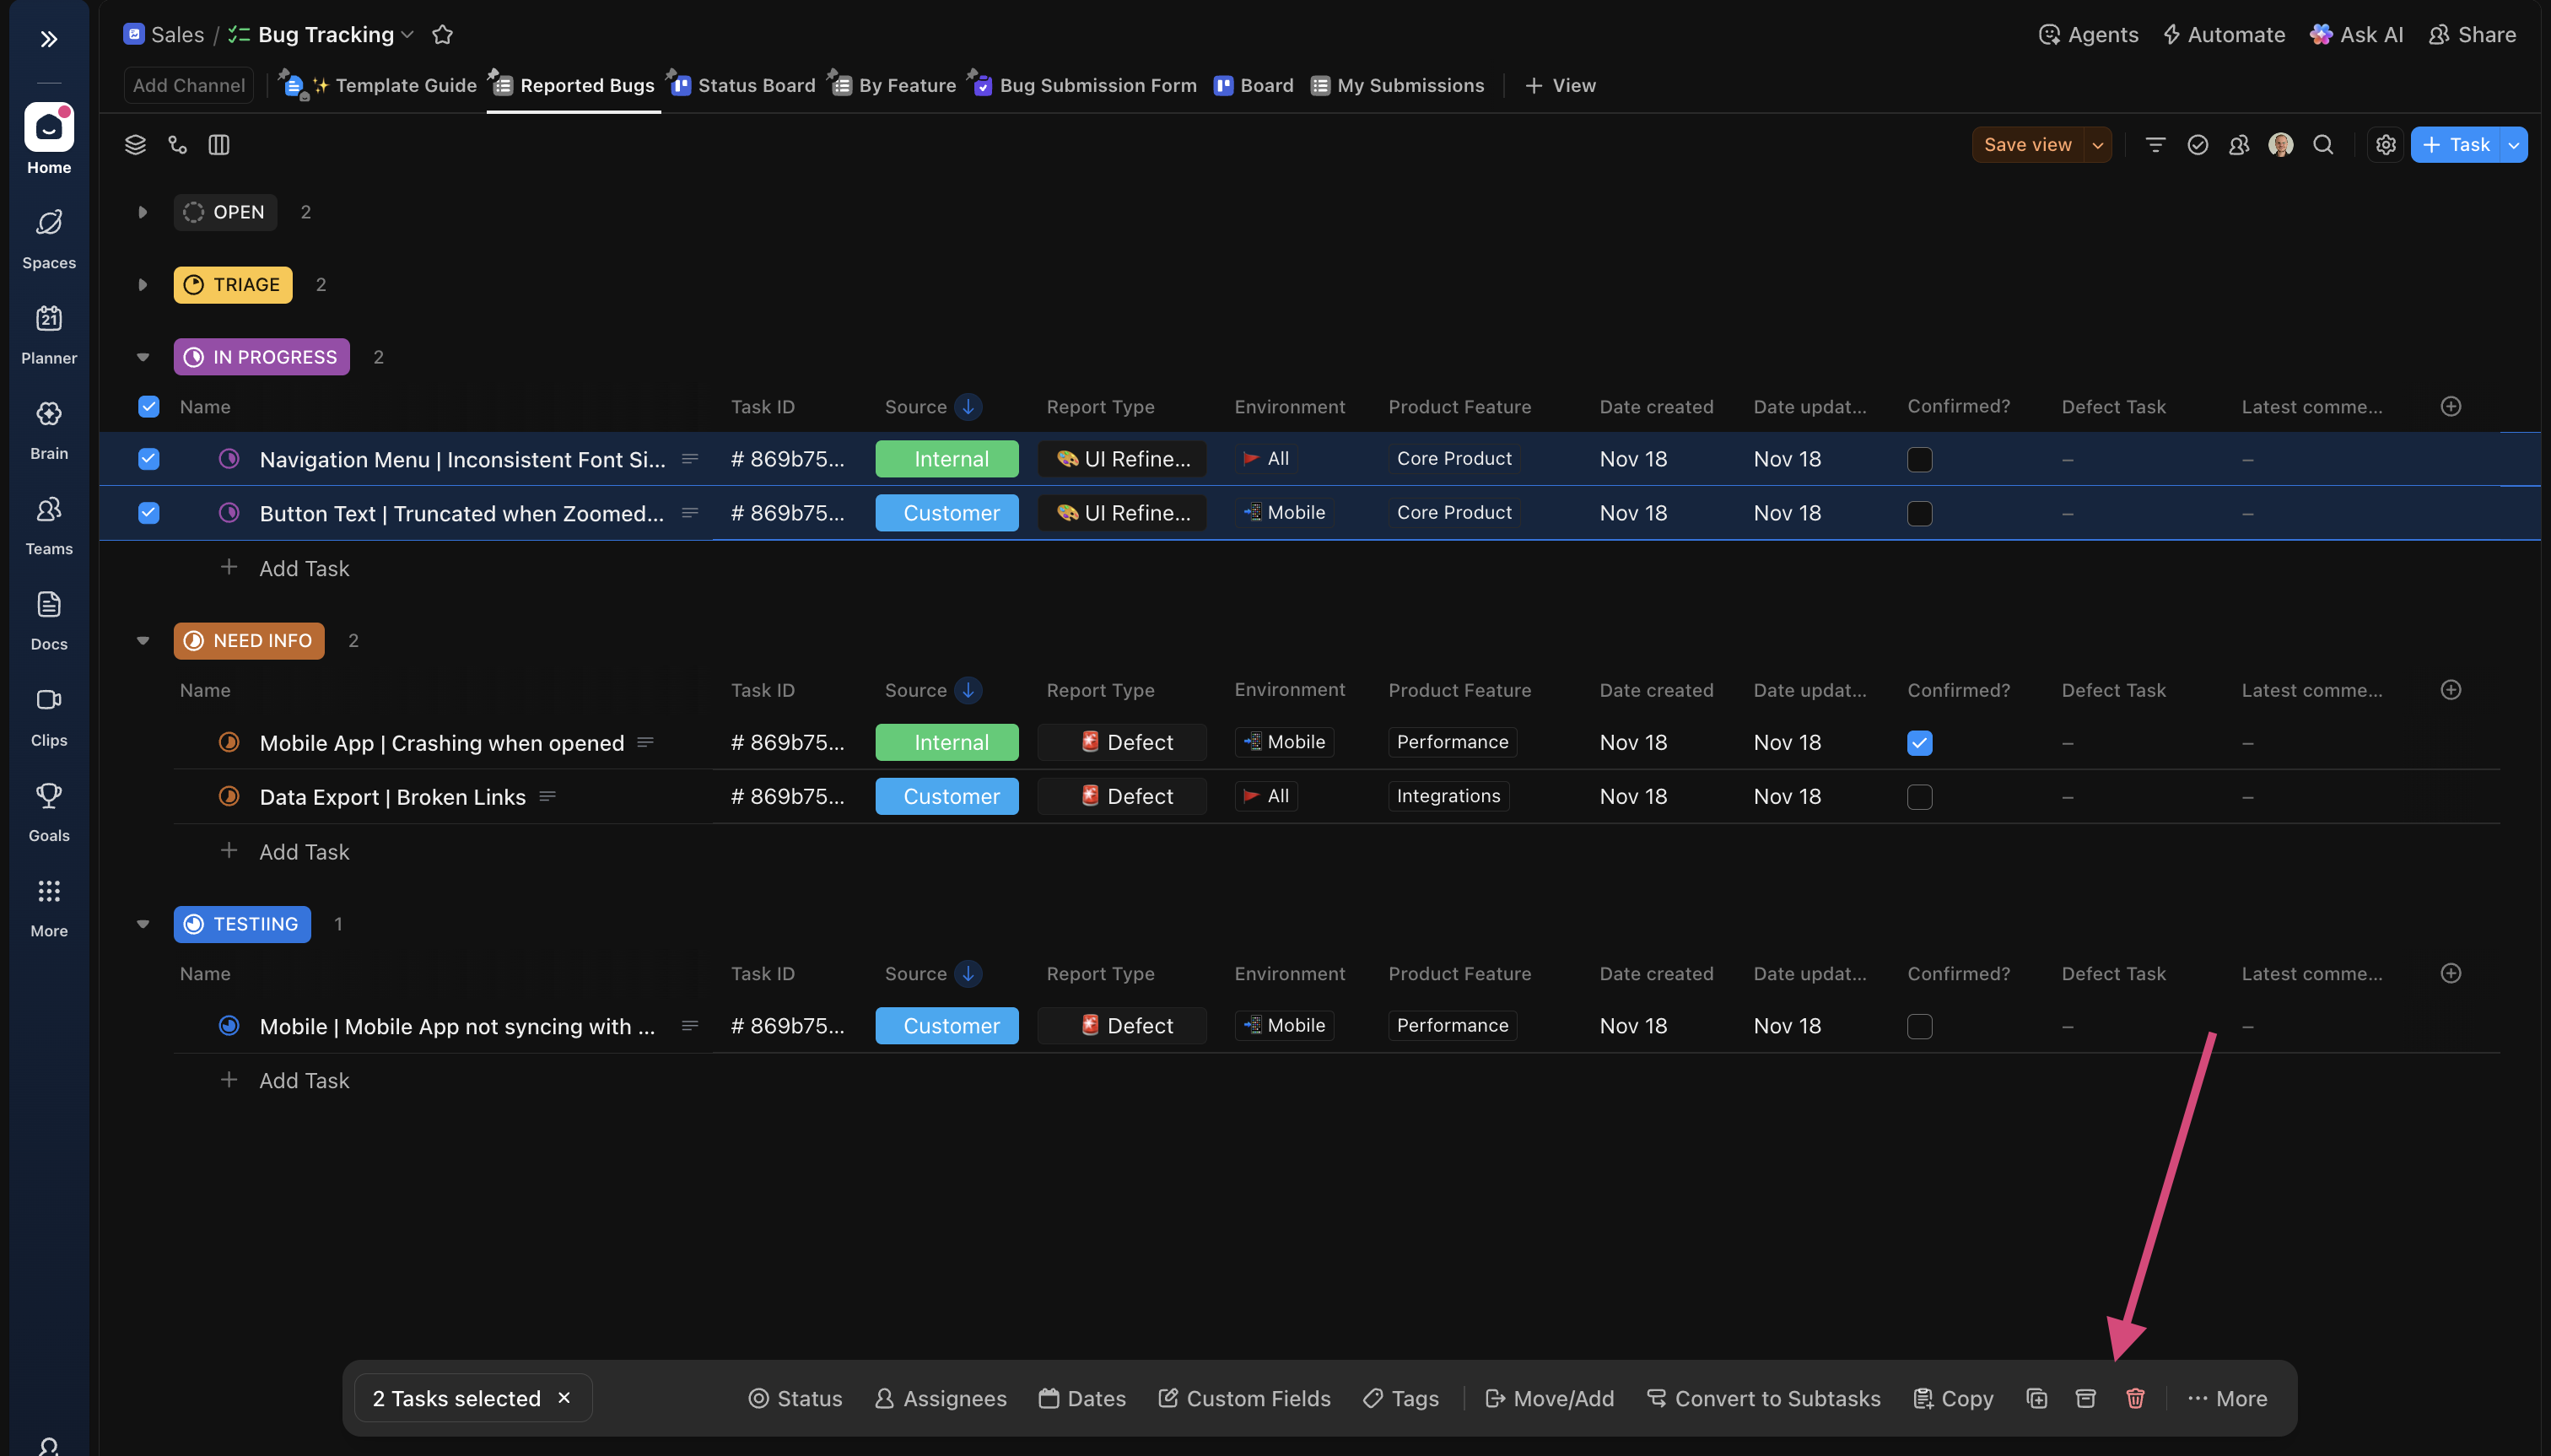
To archive multiple tasks at once, select the tasks in the list or table view and click on the Archive or Delete icon
Lists, folders, and spaces
Warning: This action will delete all child tasks inside the selected item.
- Locate the item in the left sidebar.
- Click the three dots (...) next to the name to open the list settings
- Select Archive or Delete.
- Confirm the action in the pop-up prompt.
Docs
- Open the Doc.
- Click the three dots menu in the top right.
- Select Archive or Delete
How to restore deleted data (natively)
If you catch a mistake early, ClickUp provides a safety net via the Trash feature. However, this is not a permanent backup.
To access the Trash:
- Click on your profile avatar (in the top right corner)
- Select Trash.
- Search for your item and click on the three dots (...) on the right
- Click Restore.
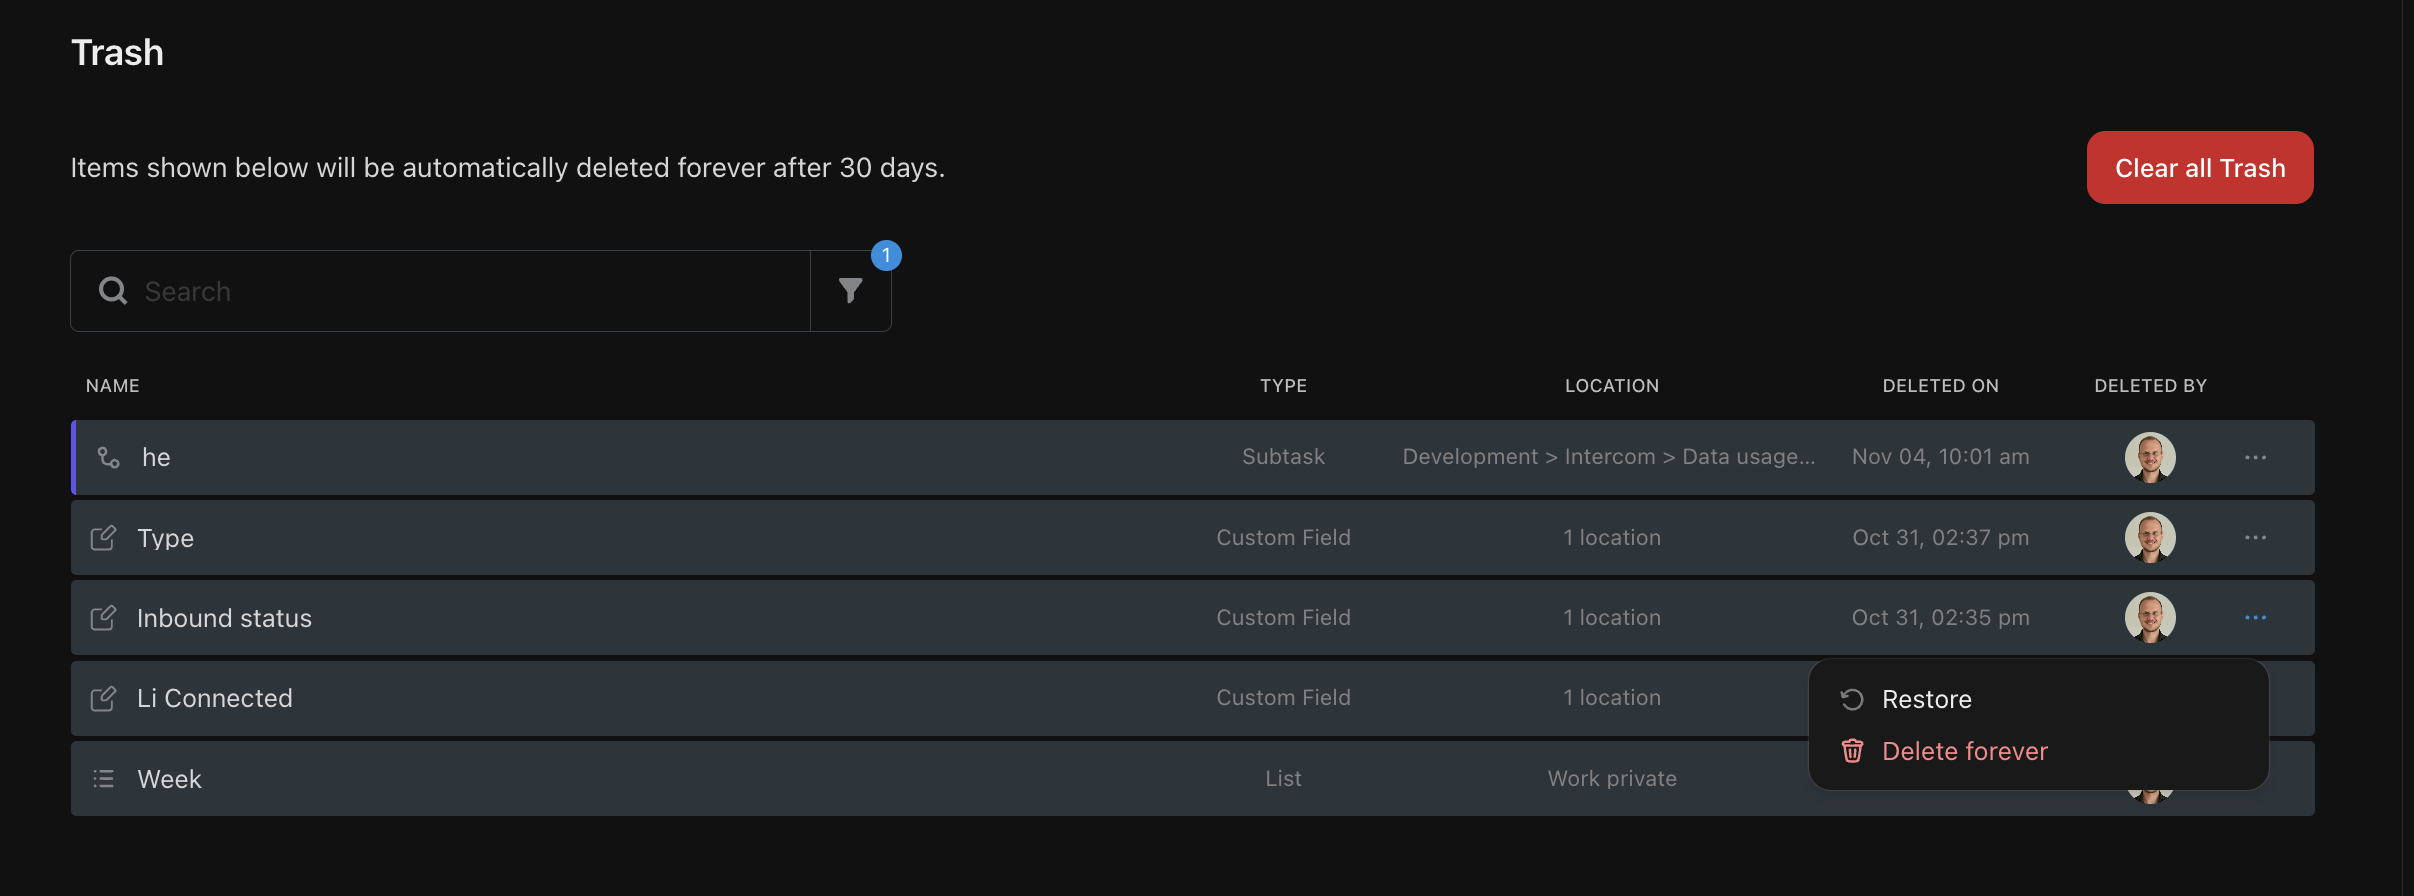
Crucial Constraints:
- The 30-Day Timer: Items in the trash are automatically purged after 30 days. Once purged, they cannot be recovered by ClickUp support.
- Permissions: Only Workspace admins can view and restore items deleted by other users.
The risks: What cannot be recovered?
The native trash functionality of ClickUp is useful to quickly recover deled data. However there are a few important cases where the trash option won't be enough:
- Granular Data: Not all data types can be restored via the trash bin: When you delete single comments, files or custom fields, they do not appear in the trash.
- Previous versions: Sometimes the list, task or field still available in the app, but you need to go back to a previous version of that item. ClickUp does not offer the option to look up and restore previous versions of your data. The most common cases for this are incorrect data imports or unwanted bulk updates by 3rd party integrations.
- Expired Trash: Anything deleted more than 30 days ago is gone forever.
Ensuring total data safety (beyond the trash can)
To satisfy compliance requirements or simply for peace of mind, relying solely on the Trash folder is rarely enough for professional teams.
Strategies to prevent data loss:
- Restrict Permissions: Limit who has "Delete" privileges in your workspace settings.
- Regular Audits: Review the Trash folder weekly to catch accidental deletions before the 30-day window closes.
- Third-Party Backups: Establish a redundancy plan.
Because ClickUp does not offer an internal "Time Machine" for your data, specialized solution providers like ProBackup have filled this gap. ProBackup provides daily, automated backups of all API-available data. Check out our How-to guide to learn how you can back up your ClickUp data with ProBackup.
Unlike the native Trash, a dedicated backup allows you to:
- Restore Granularly: Perform one-click restores of single records, comments, files and entire lists.
- Access Forever: Bypass the 30-day limit.
- Export Data: Option to sync your records and files directly to Google Drive for an accessible, readable fallback format like Google Sheets .
Summary
Deleting data in ClickUp is easy - perhaps too easy. While the native Trash feature offers a 30-day buffer for simple mistakes, it is not a substitute for a disaster recovery plan.
To maintain true data authority and security:
- Archive instead of delete.
- Audit your permissions regularly.
- Implement an automated backup solution if your ClickUp workspace holds critical business data.
.png)